How to Mount a TV on Stone Fireplace Step by Step
Learn how to mount a TV on stone fireplace step by step with our detailed guide. Discover tools, techniques, and tips for secure installation.
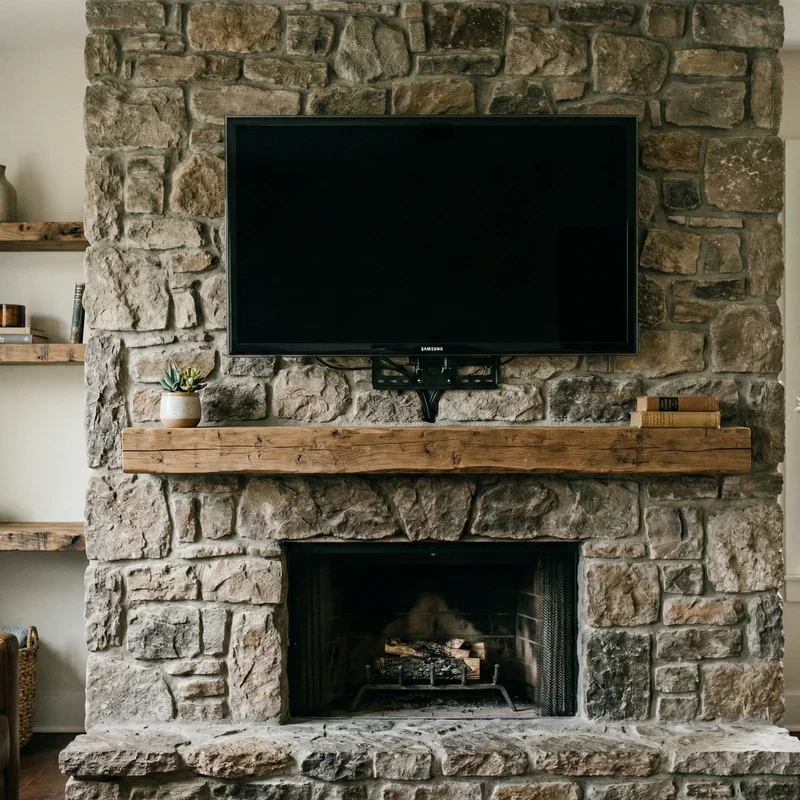
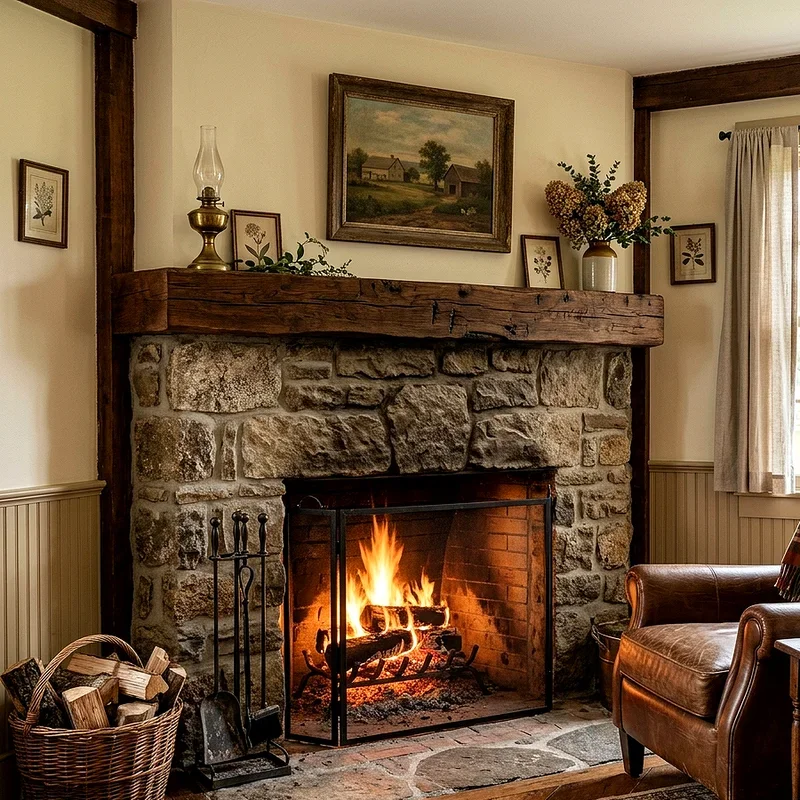
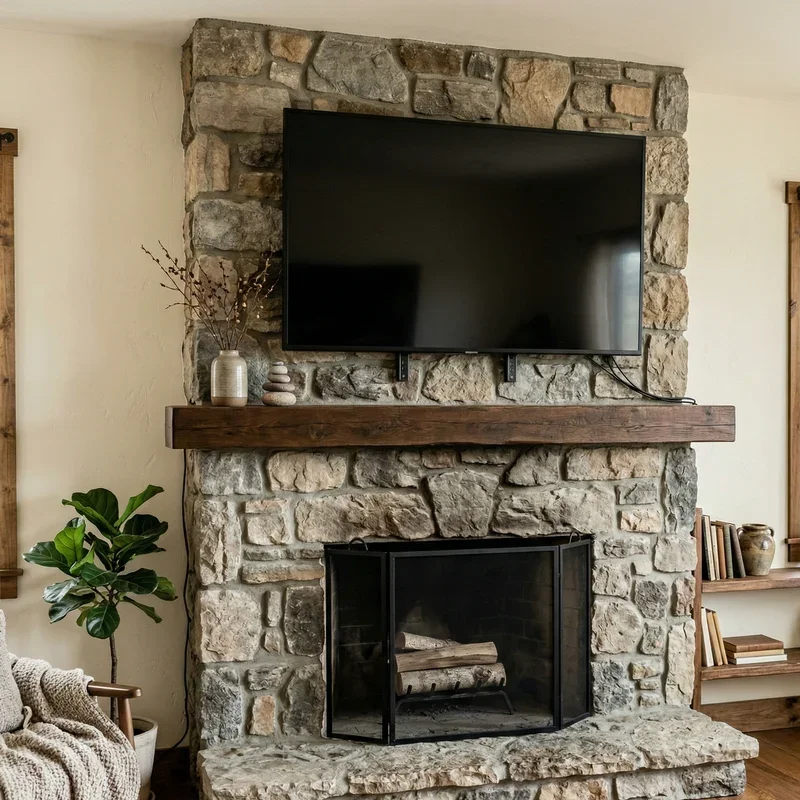
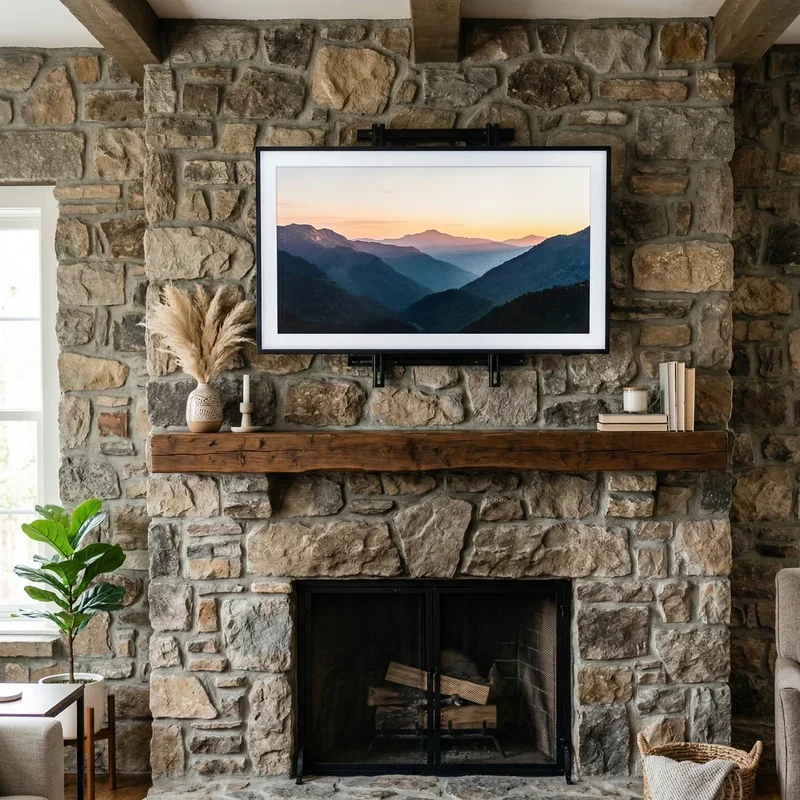
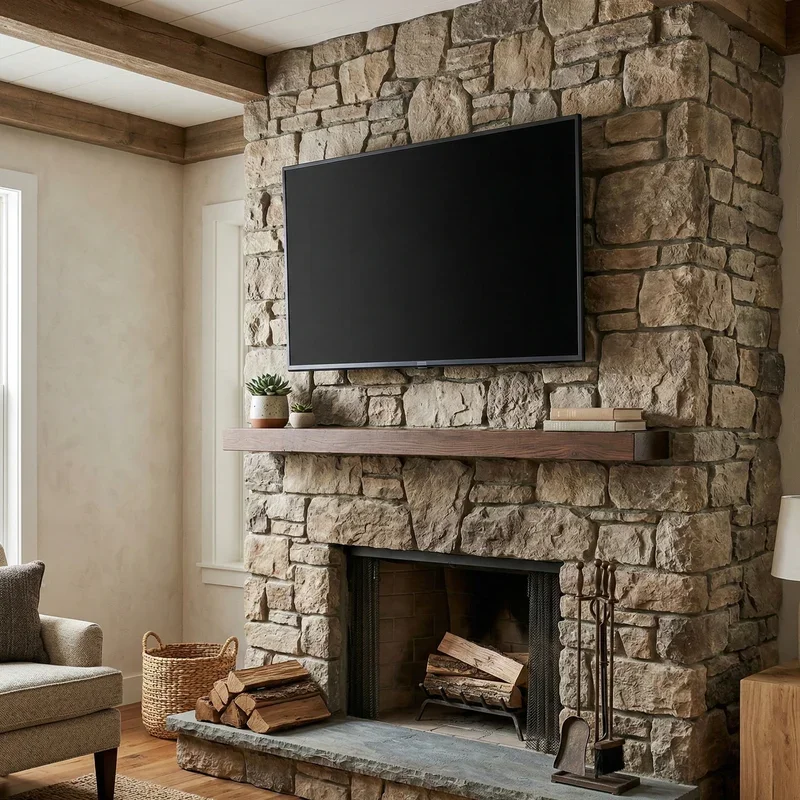
There's something undeniably appealing about having your television mounted above a gorgeous stone fireplace. It creates that perfect focal point where everyone naturally gathers, combining the cozy warmth of flickering flames with modern entertainment convenience. It's the kind of setup that makes living rooms look like they belong in design magazines.
But here's the catch that stops many homeowners in their tracks. Stone isn't exactly cooperative when it comes to drilling and mounting heavy objects. Unlike drywall or even brick, stone presents unique challenges that can turn a seemingly straightforward project into a frustrating nightmare if you don't know what you're doing.
The good news? With the right tools, proper technique, and a bit of patience, mounting your television on a stone fireplace is absolutely achievable for determined DIYers. You don't necessarily need to shell out hundreds of dollars for professional installation, though understanding when to call for backup is equally important.
Understanding how to mount a TV on stone fireplace step by step prevents costly mistakes that could damage your beautiful fireplace or, worse, send your expensive television crashing to the floor. Neither scenario sounds particularly appealing, right?
This comprehensive guide will walk you through every stage of the process, from assessing your specific stone type to the final cable management touches. We'll cover the specialized tools you'll need, the drilling techniques that work best on different stone varieties, and the mounting strategies that ensure your TV stays securely in place for years to come.
So roll up your sleeves, grab a notepad, and let's figure out how to make this happen.
Assessing Your Stone Fireplace
Before purchasing a single tool or piece of hardware, you need to understand exactly what you're working with.
Identifying Your Stone Type
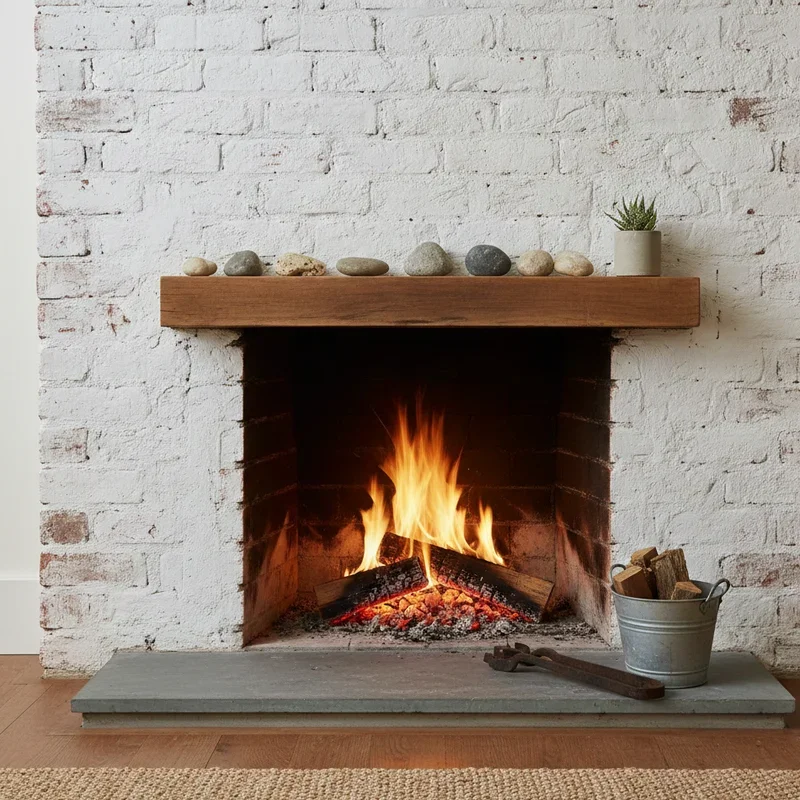
Stone fireplaces come in several varieties, and each behaves differently under the drill. Natural stone, manufactured stone veneer, and stacked stone all require different approaches.
Natural stone includes materials like granite, slate, limestone, and fieldstone. These dense, solid materials can support significant weight when properly anchored but require specialized masonry bits and patience during drilling.
Manufactured stone veneer looks like natural stone but consists of lighter, concrete-based material. While visually similar to the real thing, it's typically less dense and may not provide adequate support for direct mounting in all cases.
Stacked stone, whether natural or manufactured, presents additional complexity because you're working with multiple pieces rather than a solid surface. Finding secure mounting points becomes trickier when stones meet at irregular intervals.
Structural Considerations
Here's something critical that many DIY guides gloss over. What's behind your stone matters just as much as the stone itself.
Many stone fireplaces feature a layer of mortar, cement board, or wood framing behind the decorative stone facade. Understanding this layered construction determines your mounting strategy.
Tap gently across different areas of your fireplace and listen for changes in sound. Hollow sounds indicate air space behind the stone, while solid thuds suggest backing material you can potentially anchor into.
In some cases, particularly with stone veneer, mounting through the stone into solid backing material like studs or cement board provides more secure attachment than anchoring in the stone alone.
Heat Assessment
Mounting anything above an active fireplace requires understanding heat dynamics. Televisions have operating temperature limits, and exceeding them damages components and voids warranties.
Use an infrared thermometer to measure temperatures above your fireplace during and after fires. Most manufacturers recommend keeping TVs away from surfaces that exceed 100 degrees Fahrenheit.
Adequate clearance from the firebox, typically eighteen inches minimum, usually keeps temperatures manageable. However, fireplace designs vary significantly, so measuring your specific situation prevents expensive mistakes.
Gathering Tools and Materials
The right equipment makes this challenging project manageable.
Essential Power Tools
A hammer drill is non-negotiable for stone work. Regular drills lack the percussion action needed to penetrate hard stone materials effectively.
Quality masonry drill bits designed for stone or concrete come in various sizes. You'll need bits matching your mounting hardware diameter, plus slightly larger bits for potential pilot holes.
A level ensures your TV hangs straight. Laser levels simplify marking across the irregular surface of stone but traditional bubble levels work perfectly fine.
Mounting Hardware
Standard TV mount hardware rarely includes anchors suitable for stone. You'll need to source appropriate fasteners separately.
Concrete sleeve anchors work well for solid stone applications. These expand against the sides of drilled holes, creating strong connections that resist pullout.
Tapcon screws offer another option for certain stone types. These self-threading concrete screws require precisely sized pilot holes but provide excellent holding power.
For stone veneer applications, toggle bolts that grip behind the material may provide more reliable attachment than surface anchors alone.
Support Equipment
Safety glasses protect your eyes from stone chips and dust during drilling. Stone drilling produces significant debris, so eye protection isn't optional.
Ear protection matters when using hammer drills. Extended drilling sessions at high decibels contribute to hearing damage over time.
A shop vacuum helps manage dust during and after drilling. Stone dust settles everywhere and proves surprisingly difficult to remove once it coats surfaces.
How to Mount a TV on Stone Fireplace Step by Step: The Planning Phase
Proper planning prevents the kind of mistakes that haunt you every time you look at your fireplace.
Choosing the Perfect Height
Television viewing comfort depends significantly on mounting height. Above a fireplace often means mounting higher than ideal for extended viewing, but compromises exist.
Most viewing comfort guidelines suggest eye level at the screen center when seated. Above-fireplace mounting typically places TVs higher, which explains why tilting mounts prove popular for this application.
Consider who uses the room and how. If your fireplace room serves primarily for casual viewing rather than dedicated movie nights, slightly higher placement creates fewer comfort issues.
Marking Your Mount Location
Hold your mount against the stone and determine exact placement before drilling anything. Mark mounting hole locations using painter's tape, which shows up clearly against dark stone.
Double-check measurements multiple times. Drilling unnecessary holes in stone creates permanent damage that's extremely difficult to repair invisibly.
Consider cable routing during placement planning. You'll need paths for power and signal cables, and their routing affects optimal mount positioning.
Planning Cable Management
Above-fireplace mounts require thoughtful cable solutions. Exposed cables running down your beautiful stone facade defeats the aesthetic purpose of the whole project.
In-wall cable routing works for some installations but requires consideration of fireplace structure and potential heat exposure of cables in wall cavities.
Surface-mounted cable channels painted to match surrounding decor provide another option. Channels running through grout lines between stones can be surprisingly subtle.
Wireless HDMI transmitters eliminate signal cables entirely, though you'll still need power routed to the television location.
How to Mount a TV on Stone Fireplace Step by Step: The Drilling Process
This is where things get real. Take your time and trust the process.
Test Drilling Strategy
Before committing to final mounting holes, drill a test hole in an inconspicuous area if possible. This reveals how your specific stone responds to drilling and helps calibrate your technique.
Start with a smaller diameter bit than your final mounting hardware requires. Working up to final hole size in stages reduces stone cracking risk.
Note how the stone behaves. Does it drill smoothly, or does the bit catch and bind? Does the surface chip around the hole, or remain clean? Adjust your approach based on test results.
Proper Drilling Technique
Position your drill perpendicular to the stone surface. Angled drilling weakens anchor connections and can cause stone damage.
Start drilling at slow speed with light pressure. Let the hammer action do the work rather than forcing the bit through the material.
Periodically withdraw the bit to clear dust from the hole. Accumulated debris causes overheating and reduces drilling efficiency.
Drill slightly deeper than your anchor length requires. This ensures anchors seat fully without bottoming out in the hole.
Setting Anchors
Clean drilled holes thoroughly using compressed air or a vacuum. Dust remaining in holes prevents proper anchor expansion and weakens connections.
Insert sleeve anchors and expand them according to manufacturer directions. Over-tightening can crack stone, while under-tightening leaves anchors loose.
Test each anchor's holding strength before proceeding. Gentle tugging reveals any anchors that need removal and reinstallation.
Mounting the Bracket
With anchors set securely, you're ready for the mount itself.
Attaching the Wall Plate
Position the mount's wall plate over your installed anchors. The fit should align perfectly with your careful earlier measurements.
Thread mounting bolts through the bracket into your anchors. Tighten evenly across all mounting points rather than fully tightening each bolt sequentially.
Check level multiple times during tightening. The irregular surface of stone can shift bracket position as bolts tighten.
Apply appropriate torque to all fasteners. Hand-tight isn't secure enough, but excessive force risks cracking stone or stripping anchor threads.
Securing the TV Brackets
Attach the television-side mounting brackets to your TV using the hardware provided with your mount. Most TVs follow standardized VESA mounting patterns.
Verify bracket orientation before attachment. Installing brackets upside-down or reversed prevents proper connection to the wall plate.
Tighten TV bracket bolts securely but avoid over-tightening into the television's mounting points. Stripping these threads creates expensive problems.
Hanging the Television
This is a two-person job, period. Televisions are awkward to handle, and the consequences of dropping one onto your stone hearth are obvious.
Lift the television and position brackets into the wall plate's receiving channels. Most mounts click audibly when fully seated.
Verify secure connection by gently trying to lift the television off the mount. Properly seated TVs resist removal without engaging release mechanisms.
Cable Management and Final Touches
The functional work is complete, but finishing touches make professional-quality differences.
Running Cables
Thread necessary cables through your chosen routing method. In-wall routing typically requires fishing cables through wall cavities using specialized tools.
Connect power and signal cables before securing them permanently. Testing functionality first prevents having to redo hidden cable runs.
Secure cables using appropriate fasteners. Avoid pinching cables, which can damage conductors over time.
Adjusting Mount Position
Most quality mounts allow tilt and swivel adjustments. Set these angles for optimal viewing from your primary seating position.
Consider different viewing scenarios. Adjustable mounts allow changing angles for different activities, from casual viewing to dedicated movie nights.
Tighten adjustment mechanisms once you've found your preferred angles. Loose adjusters can allow gradual TV position changes over time.
Final Inspection
Step back and evaluate the completed installation from across the room. Check for level appearance, clean cable management, and overall aesthetic integration.
Gently test mount stability one final time. The television should feel solid and secure with no wobbling or movement.
Clean any remaining dust and debris from stone surfaces. Stone drilling dust can be surprisingly persistent.
Safety Considerations
A few final thoughts on keeping everyone safe.
Weight Limits
Every mount has rated weight capacity. Exceeding this limit risks catastrophic failure regardless of how well anchors were installed.
Factor in the mount's own weight plus the television's weight plus any accessories attached. Stay well under maximum ratings for optimal safety margin.
Heat Protection
If you have concerns about heat reaching your television, consider installing a mantle shelf between fireplace and TV that deflects rising warm air.
Some homeowners install small fans that create airflow patterns pushing heat away from electronics.
Earthquake Considerations
In seismically active areas, consider additional safety straps connecting the television directly to wall anchors. These prevent TVs from bouncing off mounts during earthquakes.
Conclusion
Mastering how to mount a TV on stone fireplace step by step transforms a challenging project into a manageable weekend accomplishment with stunning results. Success requires understanding your specific stone type, using appropriate drilling techniques and anchors, and exercising patience throughout the process. While the project demands more specialized tools and careful planning than typical TV mounting, the payoff of that perfectly positioned television above your beautiful fireplace makes every effort worthwhile. Take your time, prioritize safety, and enjoy your newly upgraded living space.
Read next: 15 Farmhouse Window Treatment Ideas for Cozy Homes
Frequently Asked Questions
1.What type of drill do I need for mounting a TV on stone?
A hammer drill with masonry bits is essential for effectively penetrating stone fireplace materials.
2.How far above the fireplace should I mount my television?
Mount at least eighteen inches above the fireplace opening to protect electronics from heat damage.
3.Can I mount a TV on stacked stone veneer?
Yes, but you may need to anchor through the veneer into solid backing material for security.
4.What anchors work best for mounting TVs on stone fireplaces?
Concrete sleeve anchors or Tapcon screws provide excellent holding power for most stone applications.
5.Should I hire a professional to mount my TV on stone?
Consider professional installation if uncomfortable with hammer drill operation or structural assessment requirements.
Stay up to date with our latest ideas!