How to Take a Window Screen Out Easily
Learn how to take a window screen out easily with simple steps, handy tips, and tricks for any window type without breaking a sweat.
Ever stood in front of a dusty window screen, scratching your head, wondering how on earth that thing comes off? You're not alone. Plenty of folks assume it's a two-person job or that they'll snap something in the process. Truth be told, popping out a screen is way simpler than it looks. Whether you're cleaning, painting, or just letting in a summer breeze, knowing how to take a window screen out easily saves you time and headaches. So grab a chair, roll up your sleeves, and let's walk through it together, step by step.
Why You'd Want to Remove a Window Screen in the First Place
Before we dive into the nitty-gritty, let's chat about why anyone bothers pulling these screens out at all. They're handy little things, sure, but they get in the way more often than you'd think.
Here are the most common reasons people pop them off:
Cleaning day. Dust, pollen, and grime build up fast, and you can't really scrub a screen properly while it's stuck in the frame.
Window washing. You'll never get those panes sparkling with a screen blocking your reach.
Painting or repairs. Screens just get in the way when you're touching up trim or fixing a sash.
Better airflow. Sometimes you just want that unfiltered breeze rolling through on a gorgeous afternoon.
Replacing torn mesh. If your cat's clawed a hole through it, out it comes.
Whatever your reason, the good news is that removing one rarely requires fancy tools or brute strength. A gentle touch usually does the trick.
Getting to Know Your Window Screen Type
Here's the thing nobody tells you: not all screens are built the same. Figuring out what you're dealing with makes the whole process a breeze. So before you start yanking, take a good look at how yours sits in the frame.
Spring-Loaded Screens
These are the most common kind in modern homes. They've got little spring-loaded tabs or plungers along one side. Push the screen toward the springs, and the opposite edge pops free. Easy peasy.
Tension-Tab Screens
Pretty similar to spring-loaded ones, but instead of springs, they use small plastic or metal tabs that you slide with your fingers. Slide the tabs, and the screen releases.
Sliding Screens
You'll find these on sliding windows and patio doors. They roll along a track, and lifting them slightly while tilting the bottom outward usually frees them right up.
Plunger Pin Screens
Older or specialty windows sometimes have pin-style fasteners. You pull the pins inward to release the frame. They can be a little stiff, but a wiggle goes a long way.
Knowing which type you've got is half the battle. Once you've sorted that out, the rest falls into place.
What You'll Need Before You Start
Believe it or not, you probably already own everything required. No trip to the hardware store needed. Still, gathering your bits and bobs beforehand keeps things smooth.
Here's a quick rundown of what'll help:
Clean hands or work gloves to protect your fingers from sharp edges.
A flathead screwdriver for stubborn tabs or pins, used gently.
A soft cloth or towel to lay the screen on once it's out.
A step stool if your window sits up high.
A helper for large or awkward screens, though it's rarely a must.
Honestly, for most screens you won't need more than your two hands. But it never hurts to be prepared, right?
How to Take a Window Screen Out Easily: The Step-by-Step Method
Alright, here's the main event. This is the bread and butter of the whole guide. Follow these steps and you'll have that screen out in under a minute, no fuss.
Step 1: Open the Window Fully
First things first, slide or crank your window wide open. You need room to maneuver, and a half-open window just makes life harder. Give yourself plenty of space to work with.
Step 2: Locate the Tabs, Springs, or Pins
Look along the edges of the screen frame. You're hunting for those little tabs, spring plungers, or pins we talked about earlier. They're usually on the left or right side, sometimes top or bottom. Run your fingers along the edge if you can't spot them right away.
Step 3: Press, Slide, or Pull
Now for the magic. If you've got spring-loaded tabs, push the screen toward the spring side until the opposite edge loosens. For tension tabs, slide them inward with your thumbs. Got pins? Pull them toward the center. Whatever the mechanism, ease it gently rather than forcing it.
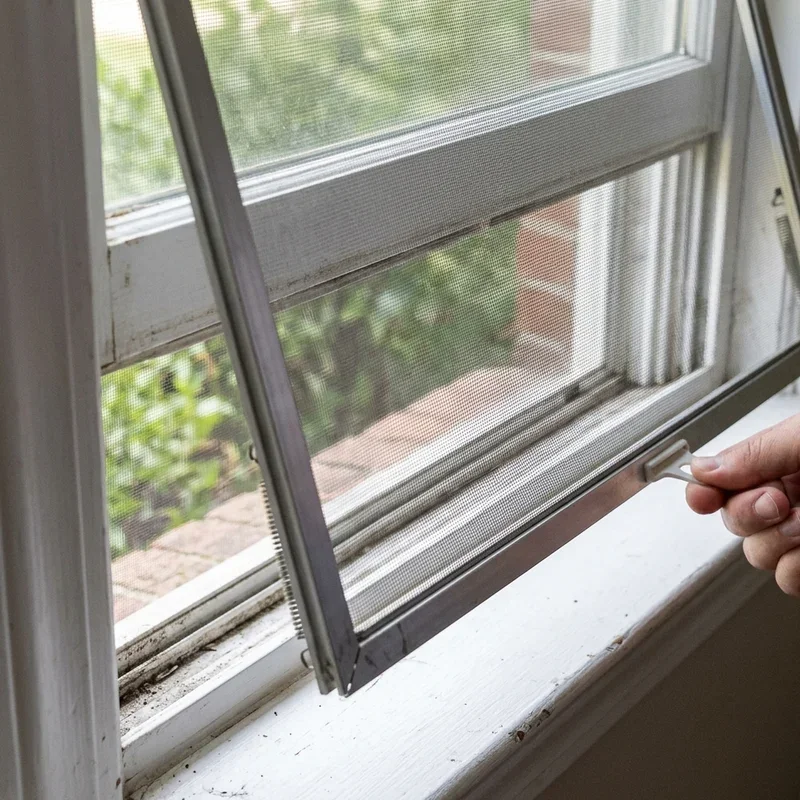
Step 4: Tilt and Lift Out
Once one side's free, tilt the bottom of the screen toward you and lift the whole frame out of the track. Take it slow so you don't bend the frame or tear the mesh. There you go, screen's out.
Step 5: Set It Down Safely
Lay your screen flat on a towel or lean it against a wall where it won't get stepped on. Screens dent easily, so treat the poor thing kindly.
And that's it! Mastering how to take a window screen out easily really does come down to these five simple moves.
Removing Screens From Different Window Styles
Now, every home's a little different, and windows come in all shapes and sizes. Let's break down a few specific styles so you're never caught off guard.
Single-Hung and Double-Hung Windows
These vertical sliders are everywhere. The screen usually sits on the exterior, held by spring tabs at the top or pull tabs at the bottom. Slide the tabs, tilt, and pull the screen inward. Some need you to lift the bottom sash first for clearance.
Casement Windows
Crank-style casement windows have screens on the inside. They're typically held by clips or turn buttons. Twist the buttons, release the clips, and the screen lifts straight out. No drama there.
Sliding Windows
For horizontal sliders, push the screen up into the top channel, then swing the bottom out toward you. It should drop right out of the lower track. If it's sticking, check for built-up dirt jamming the rollers.
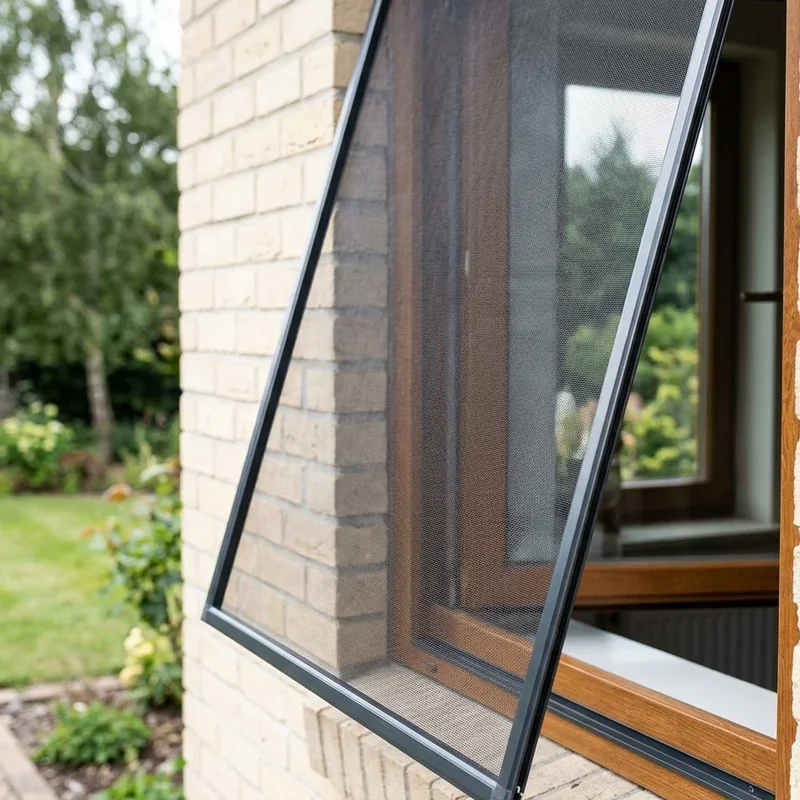
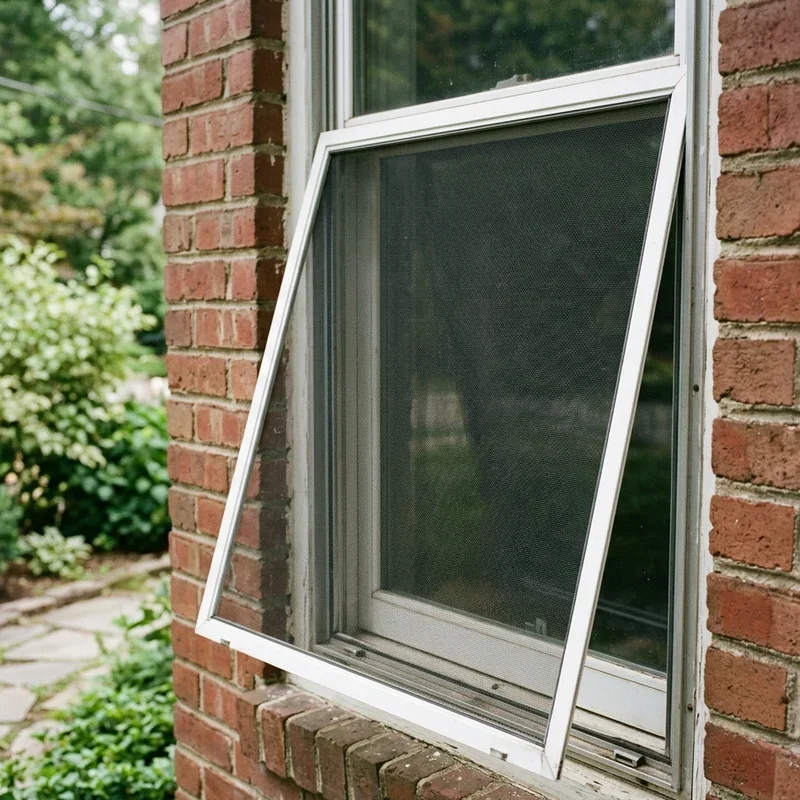
Awning Windows
These hinge at the top and open outward. Their screens usually clip onto the interior frame. Unclip them carefully, and they'll come away without a hitch.
Tips and Tricks to Make the Job Even Smoother
Want to make the process downright effortless? These little nuggets of wisdom can turn a fiddly chore into a walk in the park.
Keep these pointers in your back pocket:
Work from the inside when possible. It's safer and you've got better leverage.
Clean the tracks first. Gunk and grime make screens stick, so a quick wipe helps loads.
Don't force anything. If it won't budge, you're probably missing a tab or pin.
Label your screens. Stick a piece of tape with the room name so reinstalling's a snap.
Photograph the setup. A quick phone snap reminds you exactly how it goes back in.
Trust me, these tricks have saved many a homeowner from a frustrating afternoon. A little prep goes a mighty long way.
Common Mistakes to Steer Clear Of
Let's be real, even the simplest tasks can trip us up. Knowing what not to do is just as valuable as knowing the right steps. So heads up, here are the blunders to dodge.
Yanking Too Hard
Rushing and pulling with all your might? That's a recipe for bent frames and ripped mesh. Gentle wins every time.
Skipping the Tabs
Folks often forget to release the tabs first and then wonder why the screen won't come out. Always find the release mechanism before tugging.
Working in a Cramped Window
Trying to wrestle a screen out of a half-open window is asking for trouble. Open it all the way and save yourself the grief.
Forgetting Which Way It Faces
Screens have a front and back, and popping it back in upside down is a classic goof. Pay attention as you remove it.
Avoiding these slip-ups means you'll breeze through the job without any "oops" moments.

Cleaning Your Screen While It's Out
Since you've gone and removed it, why not give it a good scrub? It's the perfect chance, after all. A clean screen lets in more light and air, and it just looks nicer too.
Here's a simple cleaning routine:
Brush off loose dust with a soft brush or vacuum attachment.
Mix warm water and a drop of dish soap in a bucket.
Gently scrub the mesh with a soft sponge, both sides.
Rinse with a hose on low pressure or a damp cloth.
Let it air dry completely before popping it back in.
A clean screen makes a world of difference, and you'll be glad you took those extra few minutes.
Putting the Screen Back In
What goes out must come back in, naturally. Reinstalling is basically the removal steps in reverse. Slot the screen back into the track, press the tabs or springs, and snug it into place. Give it a gentle tug to make sure it's seated firmly. If it wobbles, reseat it until it sits flush. Easy as pie.
Conclusion
There you have it, folks. Taking out a window screen really isn't the daunting task it might seem at first glance. With the right know-how, a gentle touch, and a few handy tips, anyone can manage it in no time flat. Whether you're cleaning, repairing, or just chasing a fresh breeze, you've now got everything you need. So go on, give it a whirl, and enjoy that crystal-clear view. Your windows will thank you for it.
Read next: 16 Short Bay Window Curtains Ideas for Cozy Homes
Frequently Asked Questions
1.Can I take out a window screen without any tools?
Yes, most screens release with just your hands by pressing tabs or springs gently.
2.Why won't my window screen come out easily?
You're likely missing a hidden tab or pin, or dirt's jamming the frame track.
3.How do I remove a screen from the outside?
Push the spring tabs sideways, tilt the bottom outward, then lift the frame free.
4.Will removing the screen damage my window frame?
Not if you work gently and avoid forcing it; rough handling causes most damage.
5.How often should I take my screens out to clean?
Twice a year works well, ideally during spring and fall seasonal cleaning routines.
Stay up to date with our latest ideas!